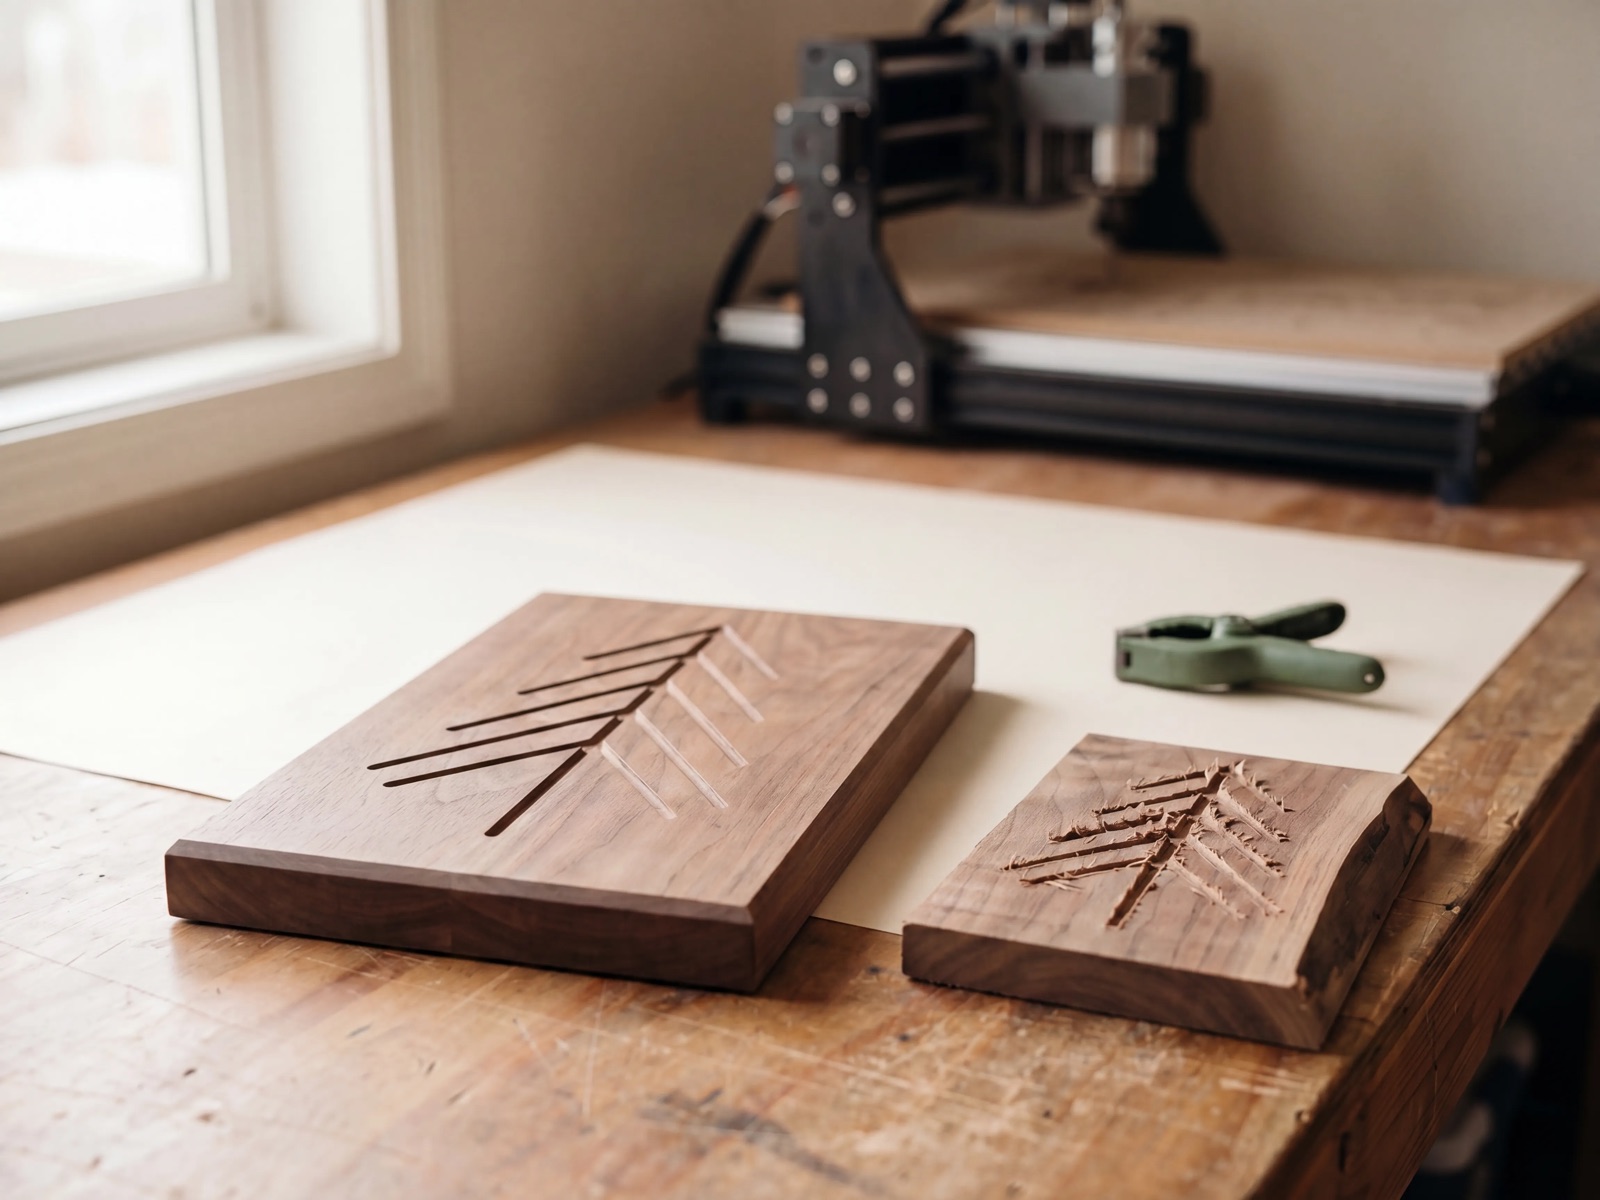
You clamped a clean piece of walnut, hit run, walked away to make coffee — and came back to scorch marks, a fuzzy edge, and a line where the bit clearly wandered. The board is firewood now. Here’s the good news: almost every ruined cut comes from one of six causes, and every one of them is visible before the spindle ever moves.
Ruining a board is a rite of passage, not a verdict on your skill. A desktop CNC does exactly what the G-code tells it to — so when the result is wrong, the answer is sitting in the setup, not in the machine. This guide walks through the six usual suspects, how to spot each one, and a pre-flight checklist you can run in under two minutes. It’s written to be useful on any GRBL machine — a Genmitsu 3018, a Shapeoko, an Onefinity — whether or not you ever touch our software.
01 · Feeds and speeds were off
Burn marks are the most common first heartbreak, and they almost always mean the same thing: the bit spent too long rubbing one spot instead of cutting it. That happens when the feed rate is too slow, the spindle RPM is too high, or both — the cutter polishes and scorches the wood instead of slicing a clean chip.
The concept that ties it together is chipload: how thick a shaving each tooth takes. Too thin and you get heat and burning; too thick and you get tear-out or a broken bit. Most hobby cutters want a chipload in a comfortable middle band.
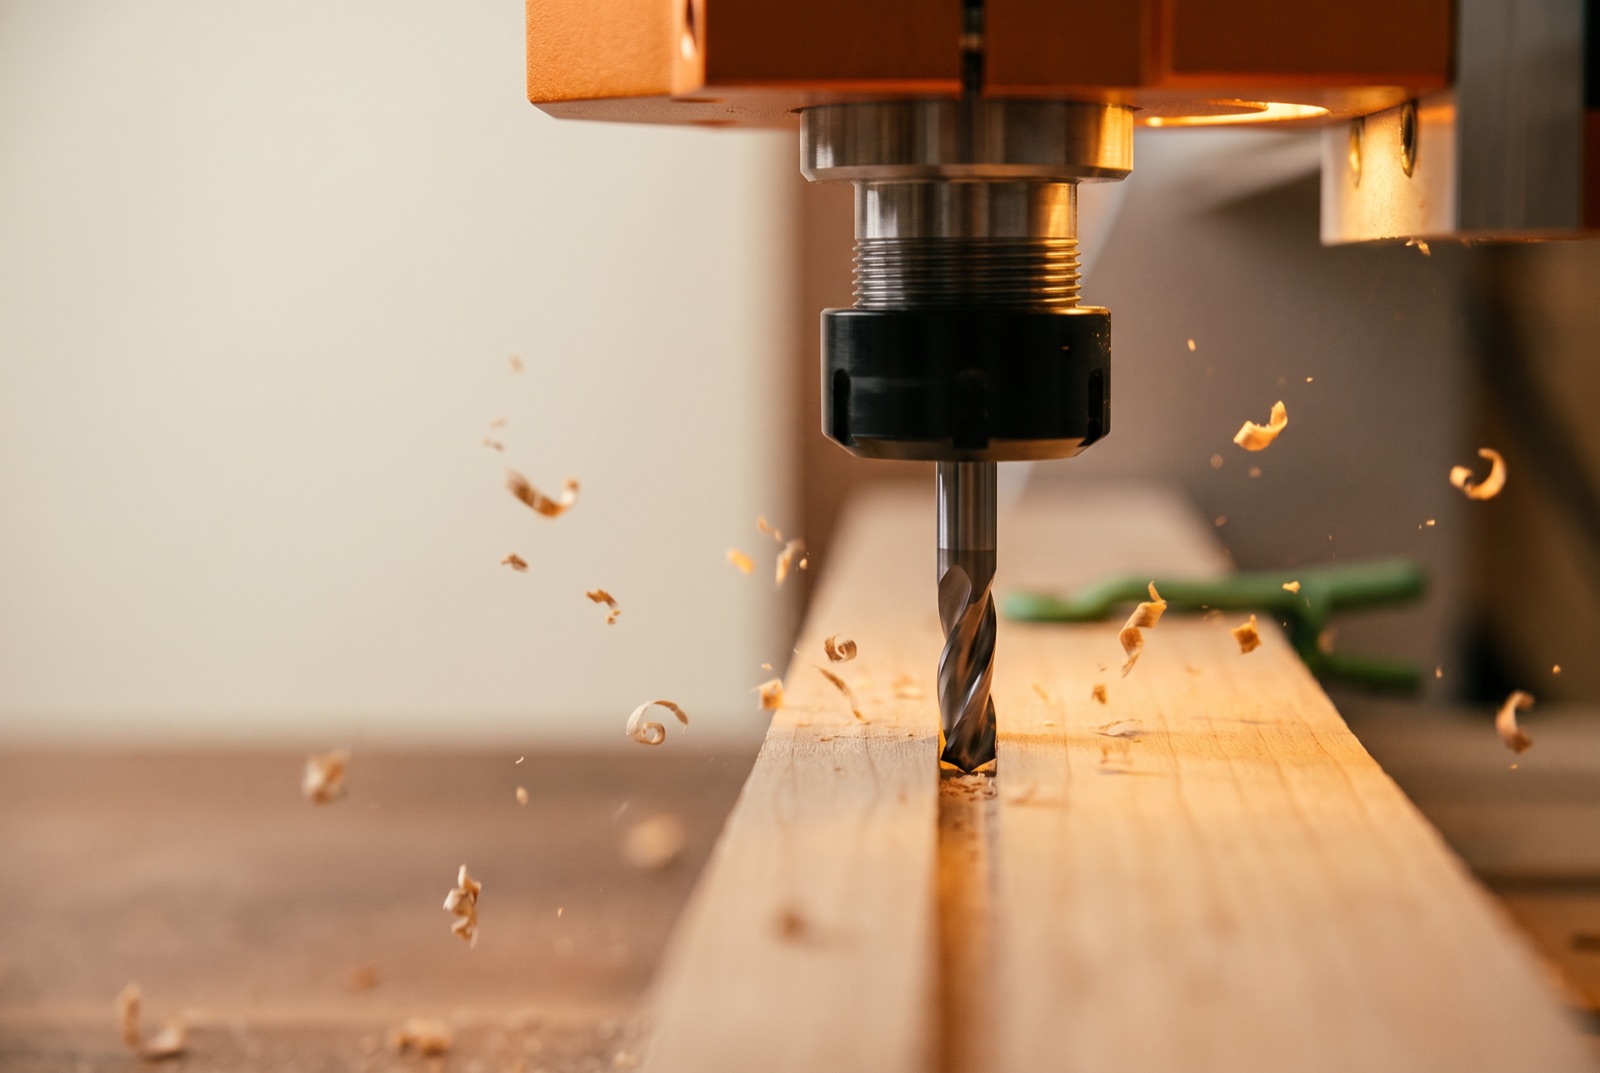
You don’t need to memorise physics — you need a starting point you can trust and then adjust by ear. Here’s a conservative beginner table for a small GRBL router cutting wood with common bits. Treat it as a floor to build from, not gospel:
| Bit | Material | RPM | Feed | Depth / pass |
|---|---|---|---|---|
| 1/8” 2-flute flat | Soft wood (pine) | 16,000 | 1,400 mm/min | 1.0 mm |
| 1/8” 2-flute flat | Hardwood (walnut) | 16,000 | 1,000 mm/min | 0.6 mm |
| 1/4” 2-flute flat | Hardwood (oak) | 14,000 | 1,800 mm/min | 1.2 mm |
| 60° V-bit | Hardwood (maple) | 15,000 | 1,200 mm/min | by design depth |
Shop note — If you can smell burning or see smoke, don’t reach for the e-stop and lower the RPM — speed up the feed first, or take a shallower pass. Burning is usually too little movement, not too much.
02 · Wrong bit, or too much depth per pass
Tear-out — those fuzzy, splintered edges where the grain lifted instead of being sliced — usually comes from asking a bit to remove more than it can in one go, or from cutting against the grain in the wrong direction. A dull or wrong-geometry bit makes it worse.
Two habits fix most of it. First, limit depth of cut to roughly half the bit diameter per pass in hardwood, less if you hear the machine straining. Let multiple shallow passes do the work the way a hand plane takes thin shavings. Second, mind the cut direction: a conventional cut (feeding against the cutter’s rotation) is more forgiving on a flexible hobby machine than an aggressive climb cut.
And check that the bit you loaded is the bit your toolpath expects. A surprising share of ruined plaques are simply a 1/8” job run with a 1/4” bit still in the collet from last time — the geometry no longer matches the design, and fine detail blows out.
03 · The workpiece moved
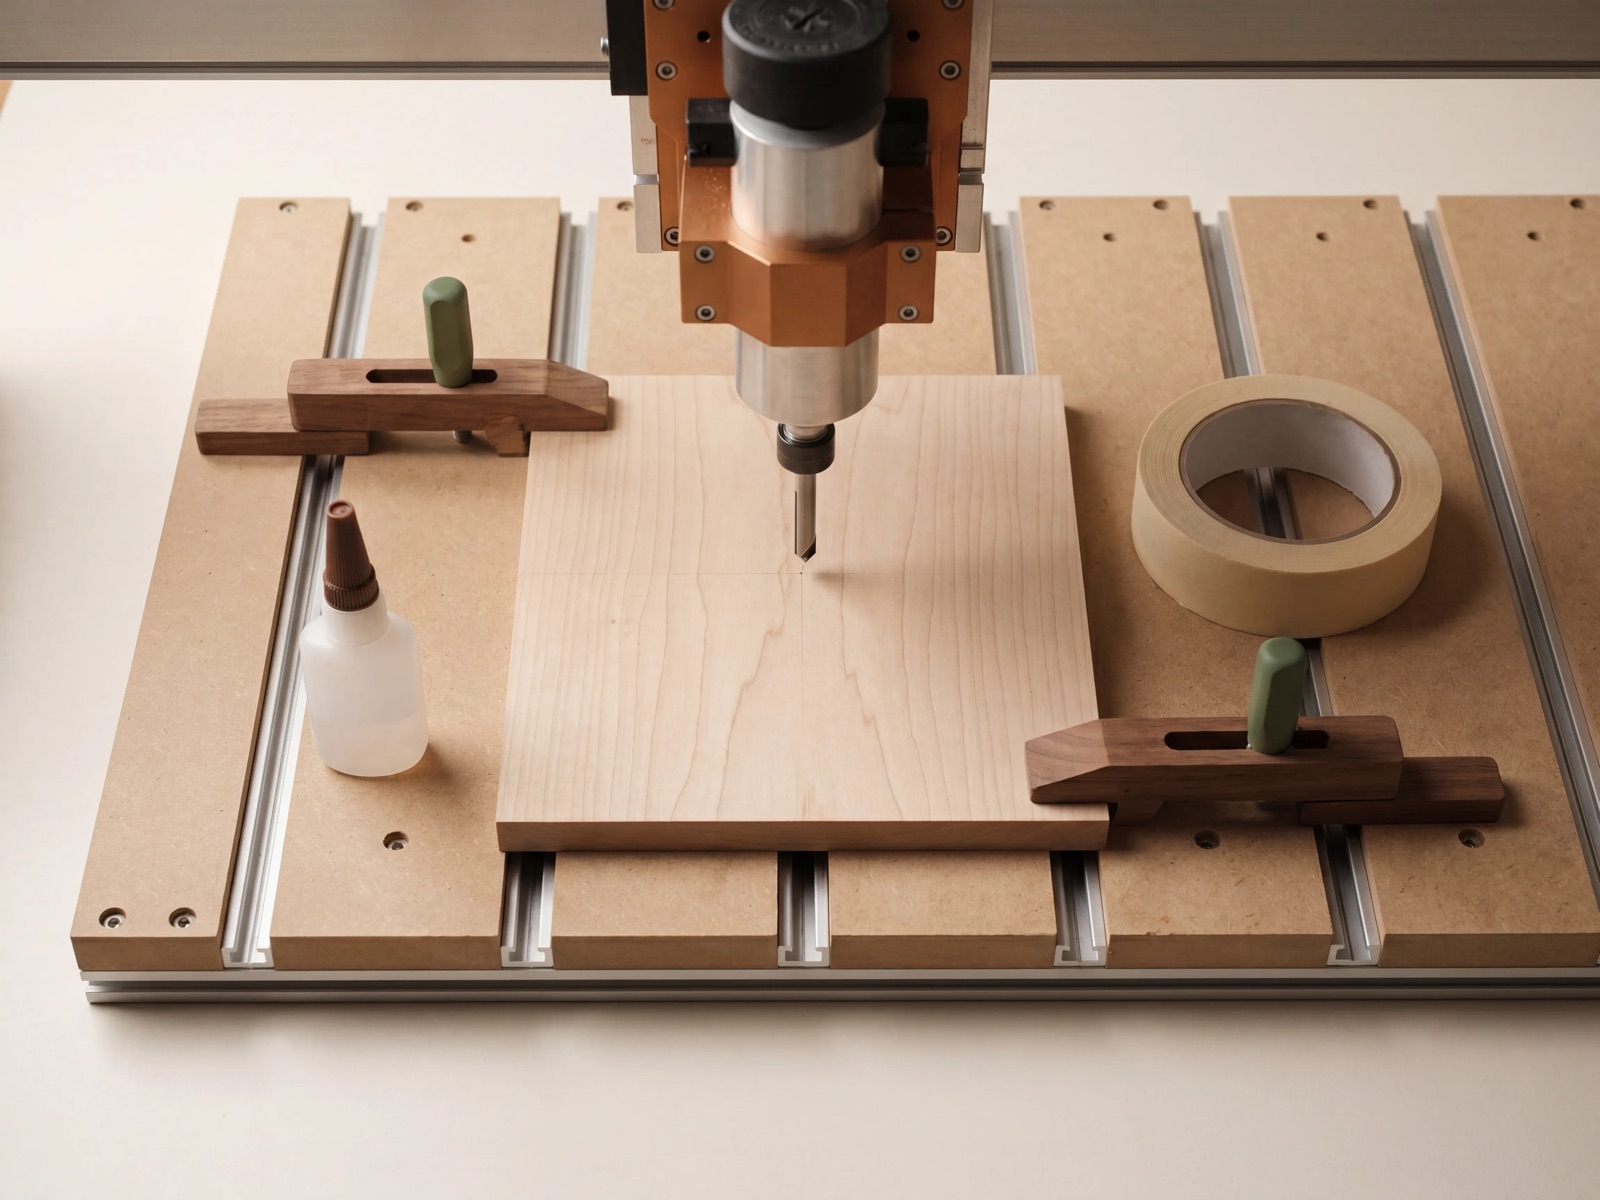
If the cut starts clean and then drifts — a wandering line, a step partway through, a shape that’s right on one side and off on the other — the board almost certainly shifted, or the machine lost steps. On a small router, workholding is the single most underrated source of ruined parts.
Painter’s tape and CA glue, double-sided tape, clamps, or a simple set of cam clamps all work — what matters is that the stock cannot creep under cutting force, and that nothing the bit will reach is in the clamp’s path. Plan the toolpath and the clamps together, not one after the other.
04 · Z-zero was wrong
Set your origin too high and the bit cuts air, tracing a ghost of your design a few millimetres above the wood. Set it too low and the first pass plunges deep, gouging the board or snapping the bit. Both are the same mistake: the machine’s idea of “the top of the material” didn’t match reality.
Zero your Z to the actual stock surface every single time — a touch plate or a slip of paper under the bit both work. Then sanity-check the XY origin against where the design should land on the board. Thirty seconds here saves the whole piece.
05 · The stock wasn’t flat
A board that looks flat on the bench can have a slight cup or twist, and a spoilboard can sag a hair in the middle. When the design relies on a consistent surface — a shallow V-carve, a photo engraving, an inlay pocket — that small variation shows up as patches that are too deep on one side and barely scratched on the other.
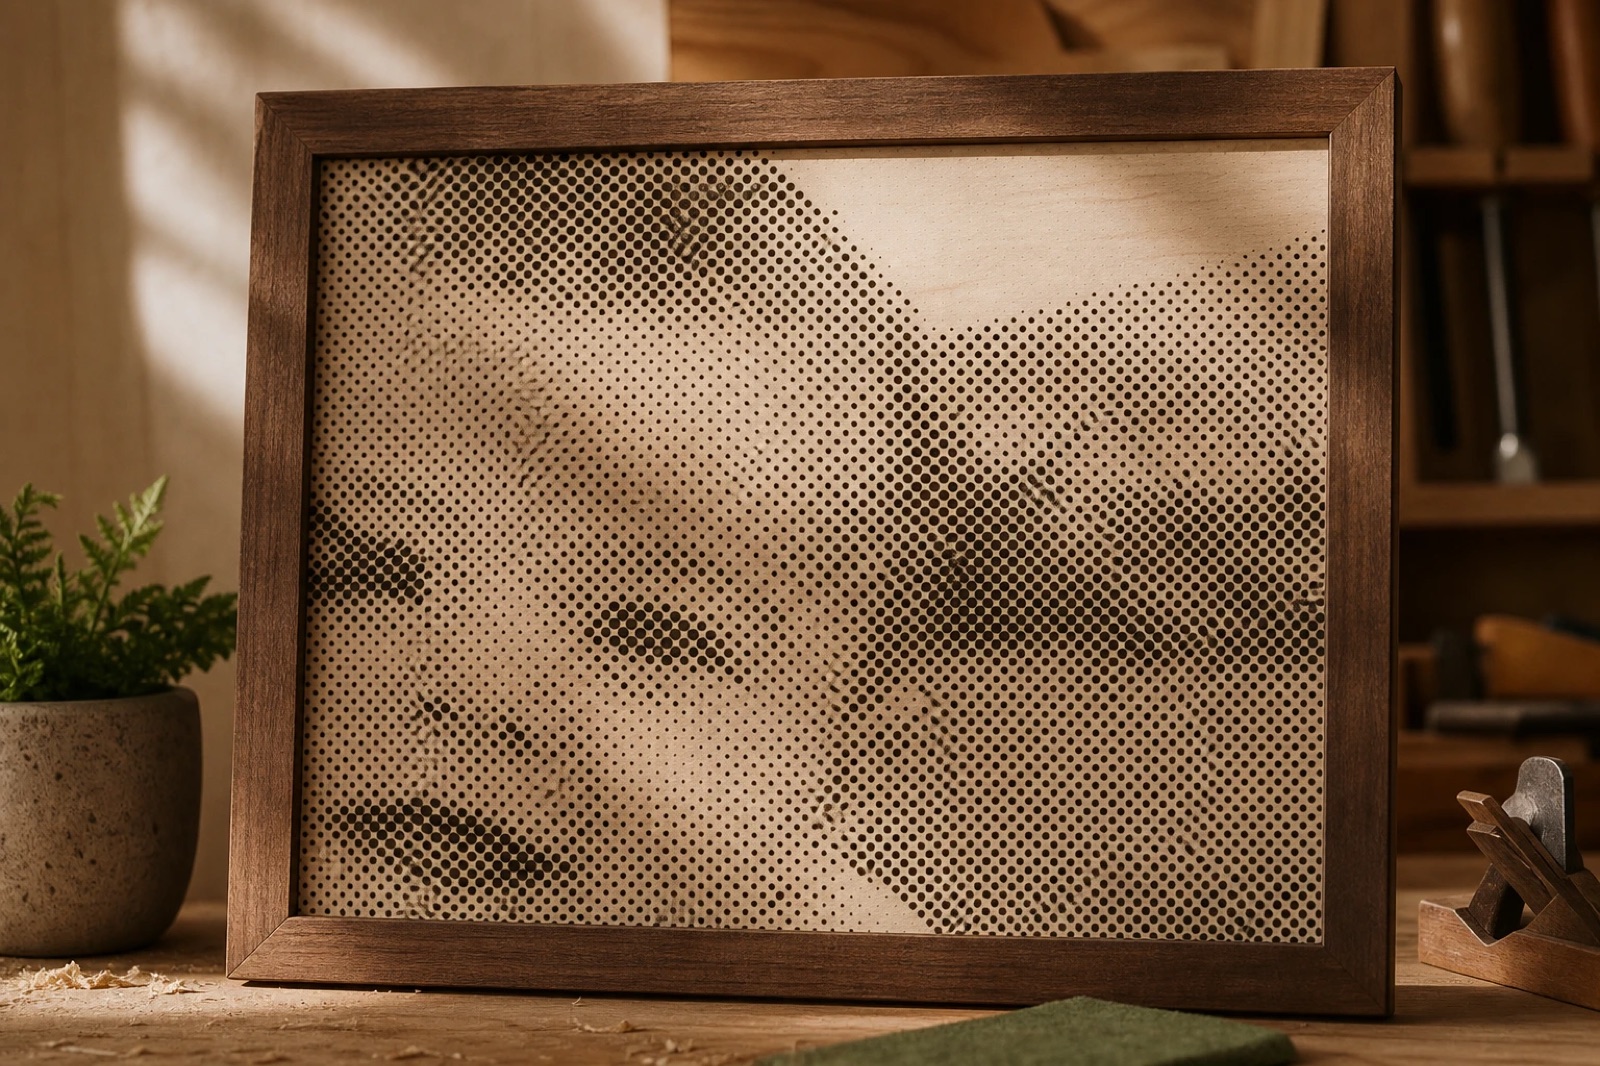
For anything where depth matters, surface the stock (a quick facing pass) or the spoilboard first so the machine and the wood agree on where zero is. It feels like a detour; it’s the step that makes engravings look even.
06 · You didn’t see the result first
Here’s the thread running through the first five causes: each one is visible in advance. The burn is predictable from your feeds and speeds. The tear-out is predictable from your depth per pass. The wander is predictable from your clamp layout. The air cut is predictable from your Z origin. None of these are surprises to the machine — they’re only surprises to us, because we hit run before we’d actually looked at what the job would do.
The single most reliable habit you can build is to preview the toolpath before you cut it. Read the path, watch the simulation, check the depths and the bit against the material. Experienced makers do a version of this in their head; the rest of us benefit from seeing it on screen. Reading even a few lines of G-code helps too — you can confirm the safe travel height and the first plunge before committing:
; first moves of the job
G21         ; units = mm
G90         ; absolute positioning
G0 Z5.000   ; lift to safe height   ; good — clears clamps
G0 X12.0 Y8.0
G1 Z-0.600 F300  ; first plunge = 0.6mm   ; matches depth/pass
This is the exact problem HCraft was built for. It previews the expected carve using your selected material profile and shows its supported pre-cut checks — including depth, feed rate, bit fit, and estimated run time — before GRBL export.
The two-minute pre-flight checklist
Run this every time, before you hit start. It’s the same list whether you’re cutting a keychain or a wedding sign — and it’s the cheapest insurance in the shop.
- Right bit loaded — matches the toolpath’s tool; sharp; tight in the collet.
- Feeds & speeds sane — feed fast enough and depth shallow enough to make a chip, not heat.
- Stock held & flat — clamps clear of the cut area; surface faced if depth matters.
- XYZ origin set to the real surface — Z touched off on the stock; XY where the design should land.
- Toolpath previewed — simulation watched; safe height and first plunge confirmed.
- Dust & hands clear — collection on, nothing loose on the bed, safety glasses on.
A ruined board taught me more than ten clean ones. But the lesson was always the same: look at the job before you run it. That’s the entire trick. — Julien, HCraft
None of these six causes is exotic, and none requires a better machine — just a habit of looking before you cut. Build the checklist into your routine and the ruined-board phase ends fast. Save your good walnut for the pieces you’ve already seen succeed.
See your piece on the wood. Before you cut it.
HCraft previews the expected result and reports supported pre-cut checks before GRBL export. Free at launch · Windows 11 and macOS 12+ · no trial clock.
Photography: original shots from the HCraft shop, released with this article. Reference reading on CNC routing: CNC router — Wikipedia.